EN

How ODM Service Optimizes BNC Connector for Industrial Monitoring Equipment
Industrial monitoring systems rarely fail because a connector looked wrong on a drawing. They fail when a small interface choice adds intermittent signal behavior, awkward maintenance, or batch variation to a system that must keep reporting. An ODM program can treat the bnc connector as part of the complete signal path rather than a commodity at the end of a bill of materials. That shift matters for condition monitoring, CCTV inspection stations, instrumentation panels, and test fixtures where technicians may reconnect a bnc cable connector many times over its service life.
From an RF systems engineering perspective, the practical question is not whether a BNC format is familiar. It is whether the chosen bnc connector, cable construction, termination method, enclosure geometry, and inspection plan work together under the equipment's actual electrical and mechanical conditions.
Start with the industrial problem, not the connector catalog
A monitoring unit can show a clean signal during bench assembly yet become unreliable after installation. Cable routing may force a sharp bend near the bulkhead; a technician may need fast access in a crowded cabinet; or several suppliers may deliver parts that mate but do not behave consistently. Those are system problems, not merely purchasing problems.
An ODM review begins by documenting the signal type, intended impedance, operating frequency band, cable type, mounting location, expected mating activity, and environmental exposure. BNC families are commonly available in 50 Ω and 75 Ω versions. That does not mean either is universally better: the correct bnc connector follows the characteristic impedance and signal requirements of the existing cable and equipment. Selecting a connector by appearance alone can introduce avoidable mismatch into a monitored signal path.
Why the bayonet interface still fits serviceable monitoring equipment
The quarter-turn bayonet coupling is useful when a technician needs a positive, repeatable connection without threading a coupling nut. In an industrial cabinet, that can reduce service time and make a connection state easier to verify by touch. Still, quick connection is only one criterion. An ODM team should check whether cable exit direction, strain relief, panel clearance, and connector retention remain appropriate when the unit is installed rather than lying flat on a workbench.
A well-specified bnc cable connector also makes field replacement more manageable because the cable assembly, connector gender, and panel interface have been defined together. The important qualification is that convenience should not override the link budget or mechanical load path. If a cable is heavy, constantly moving, or routed across a door hinge, the connector is not the place to absorb the full load.
ODM controls that improve BNC connector consistency
1. Freeze the interface definition early
Before sample approval, convert the application into an interface sheet. It should identify 50 Ω or 75 Ω as applicable, plug or jack form, straight or right-angle orientation, cable dimensions, panel cutout, allowable cable bend path, and the measurement point used for acceptance. This avoids a common sourcing error: an RFQ that says “BNC” but leaves gender, cable compatibility, and mounting details open to interpretation.
2. Engineer the cable and termination as one assembly
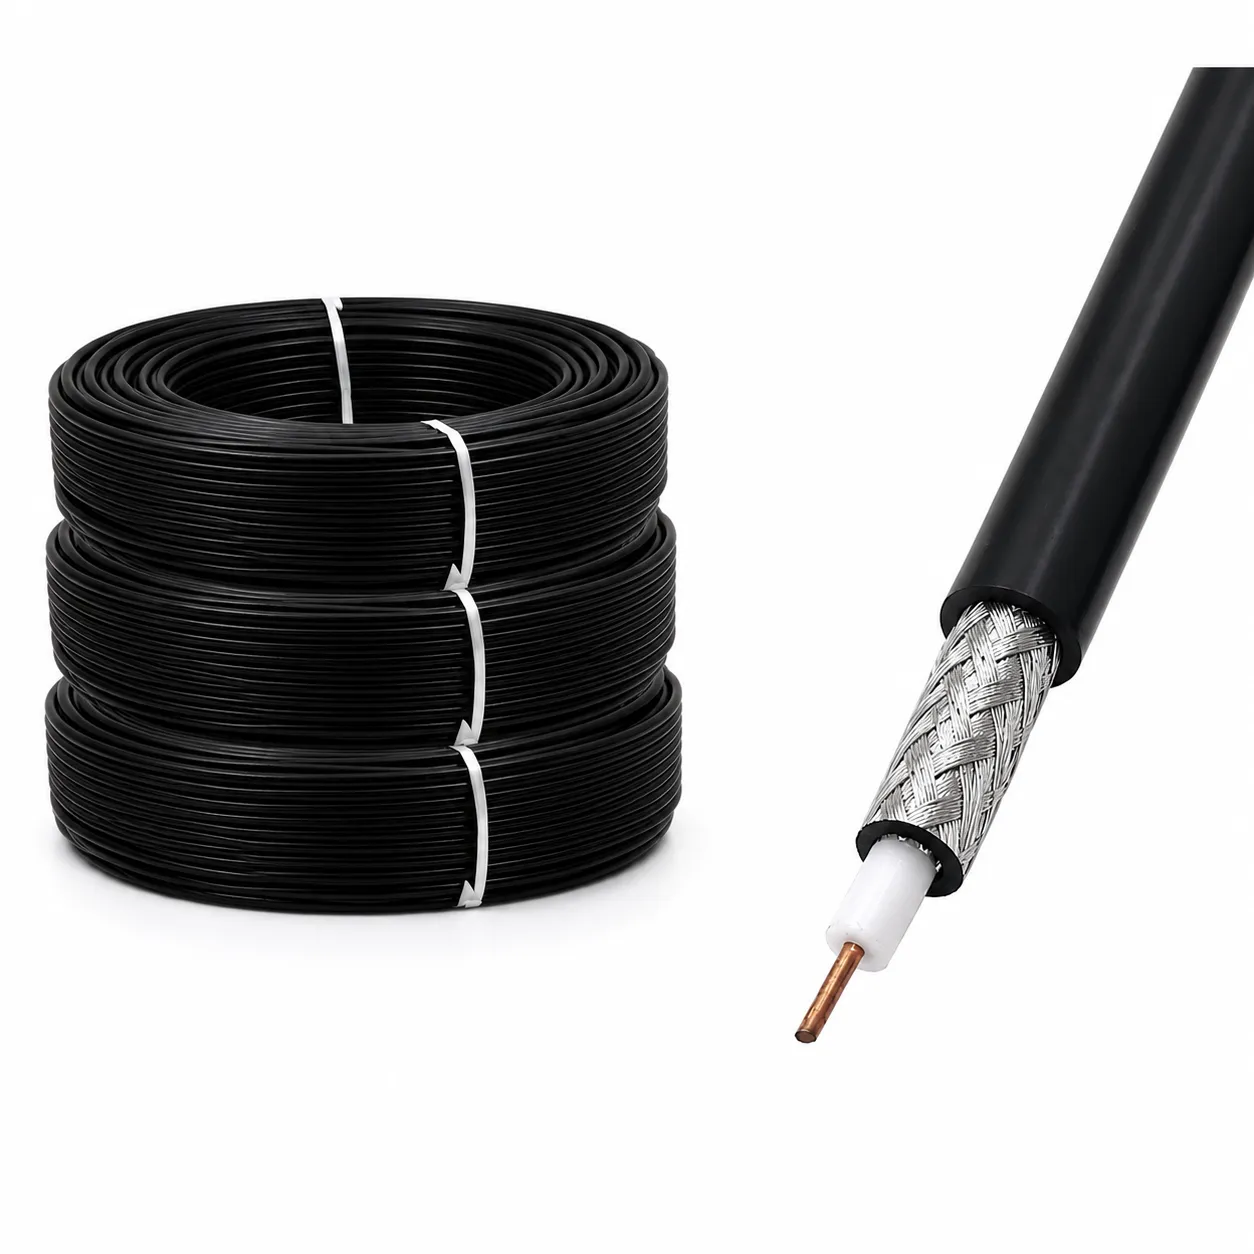
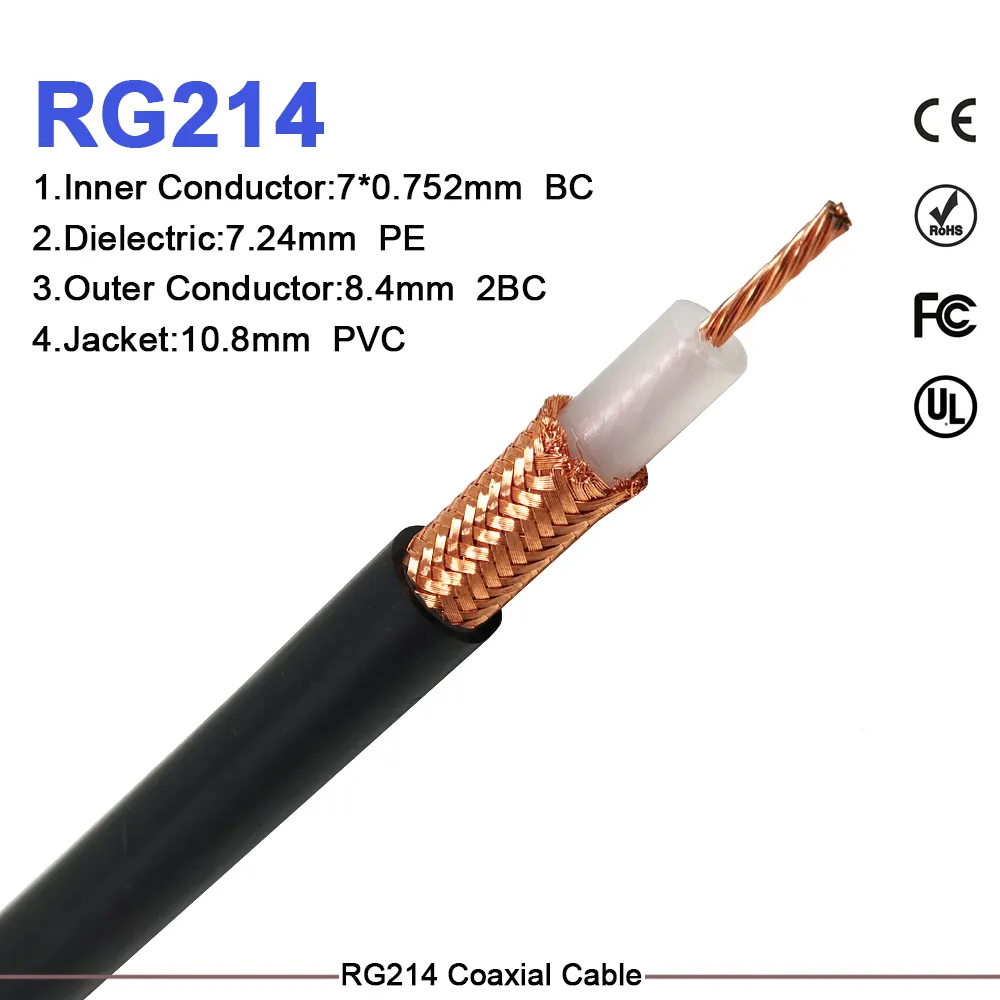
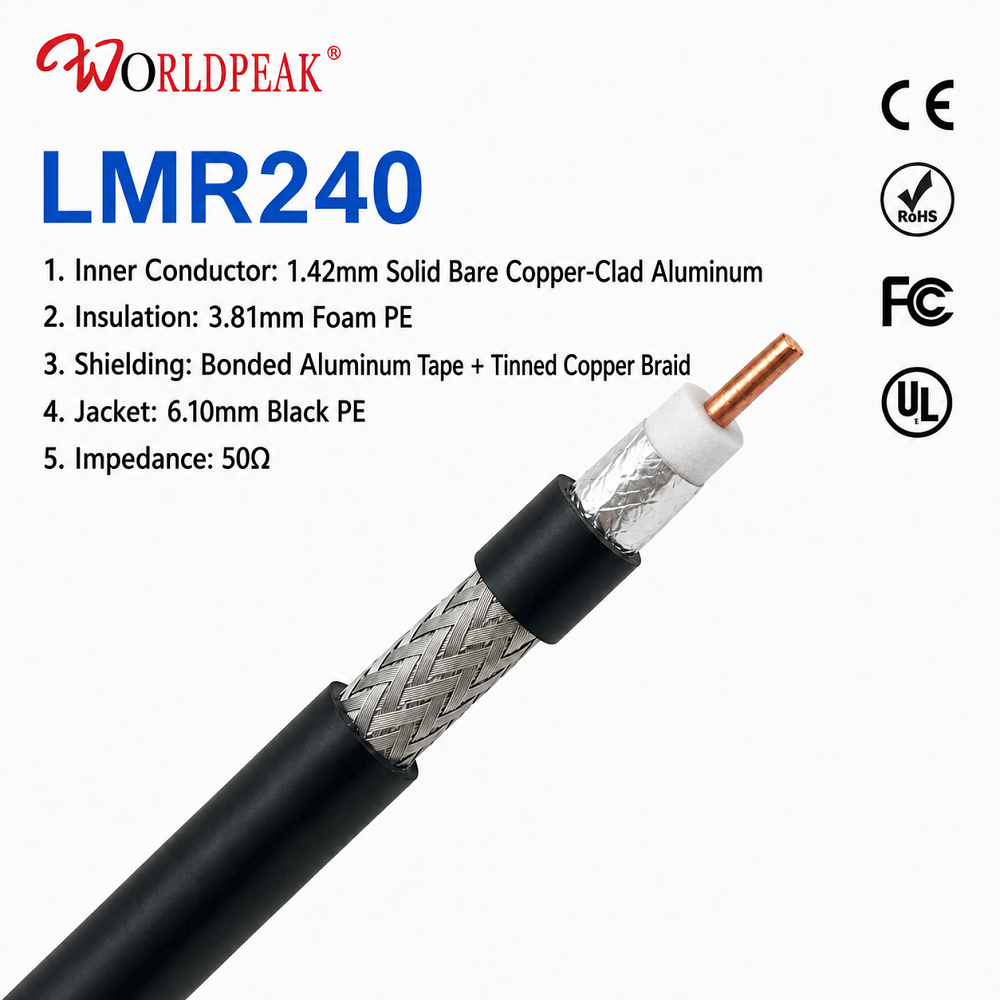
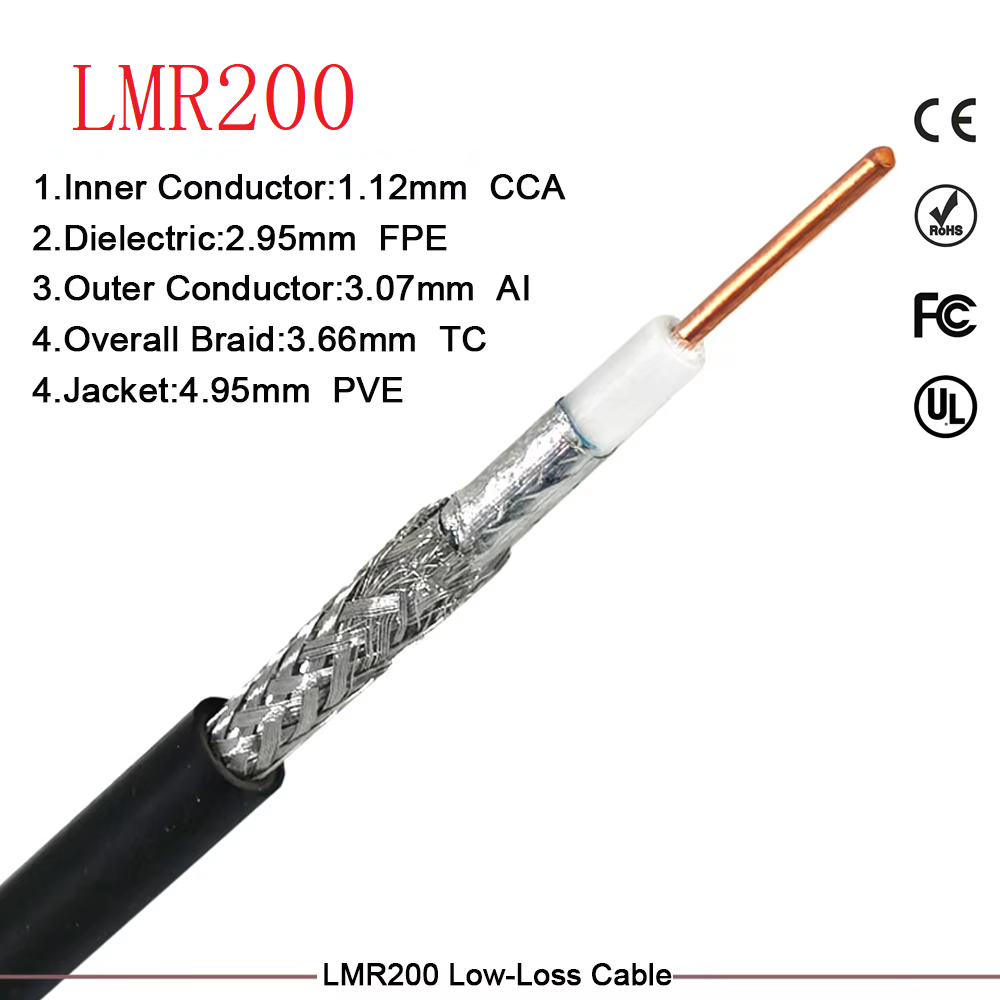
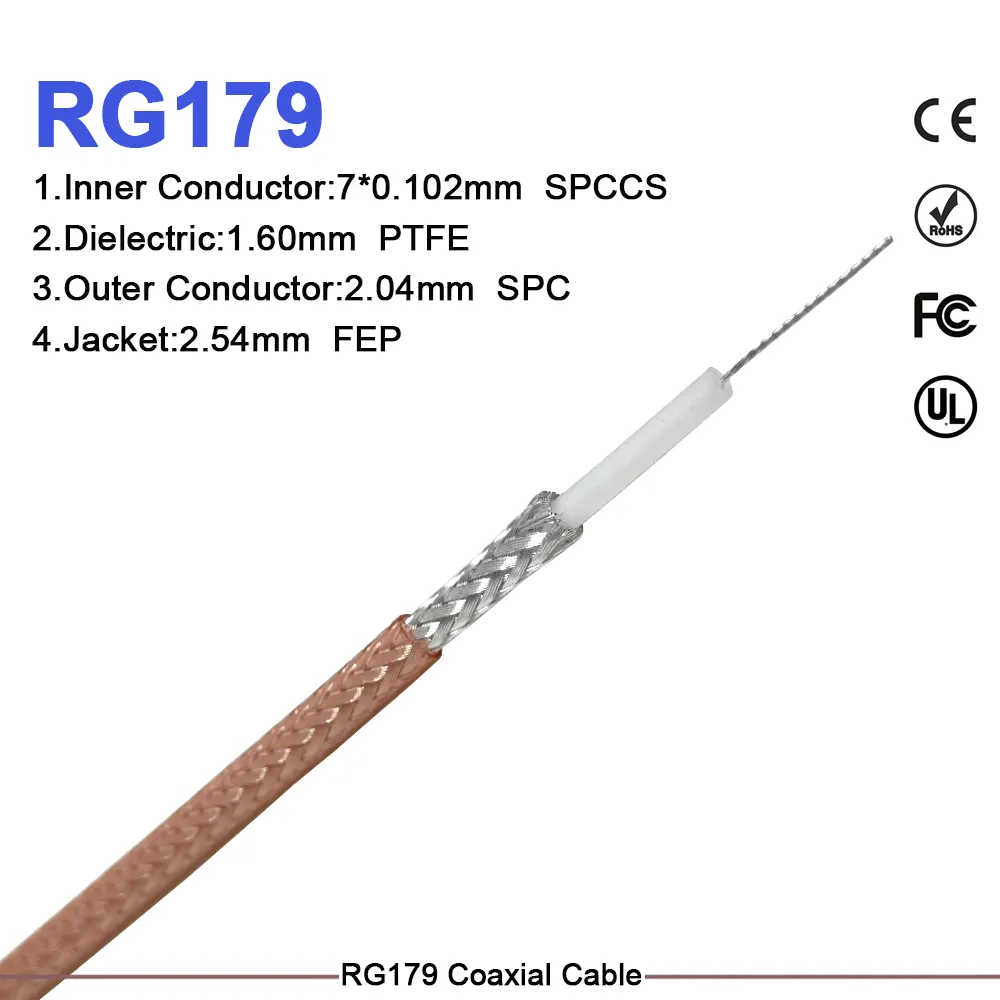
A bnc connector is not independent of the cable it terminates. Dielectric dimensions, braid preparation, center-conductor engagement, and crimp or clamp process all affect the finished assembly. An ODM service can create work instructions for stripping length, tooling, inspection points, and pull protection appropriate to the selected cable. The goal is not to promise a universal electrical result; it is to prevent a nominally compatible bnc cable connector from becoming a variable assembly process.
3. Check the installed geometry
Prototype units should be reviewed with real enclosure walls, grommets, cable exits, and adjacent connectors in place. A right-angle option may relieve a bend, while a straight option may be better where service access is direct. Actually, a lower-profile choice may not be safer in every installation: select the orientation that keeps the cable within its permitted routing and leaves adequate hand clearance for mating and release.
4. Define batch-level verification
Incoming inspection of a single sample cannot reveal every process drift. For monitoring equipment, establish a documented sampling plan that checks visual workmanship, interface fit, cable retention, and the electrical verification relevant to the application. Where signal integrity is critical, define the method and acceptance limits before production instead of adding a vague “test OK” note after assembly. This is especially valuable when multiple lots or cable sources are involved.
A practical decision sequence for the BNC connector
- Map the signal path. Record the source, cable run, intermediate connections, and receiving equipment.
- Match impedance deliberately. Confirm whether the system calls for 50 Ω or 75 Ω components, then keep the cable and bnc connector selection aligned.
- Choose the mechanical form. Compare cable-mount, panel-mount, straight, and right-angle arrangements against enclosure access and strain relief.
- Specify termination controls. Put cable preparation, tooling, inspection, and rework limits into the assembly documentation.
- Validate the installed prototype. Test the configuration after routing it through the real enclosure, not only as a loose cable sample.
- Lock the production acceptance plan. Ensure that every approved bnc cable connector assembly is traceable to the same released requirements.
Where supplier capability supports the ODM workflow
For a project that mixes BNC interfaces with other RF interconnects, a focused RF supplier can help keep drawings, cable assemblies, and inspection language aligned across the signal chain. Worldpeak's merchant profile identifies RF connectors, coaxial cable assemblies, and RF passive components as its core scope, including BNC among standard interfaces. That is most useful when engineering needs a technical discussion about interface fit and manufacturability rather than a generic catalog substitution.
The right supplier conversation should remain specific. Share the cable type, connector orientation, installation condition, required quantity, and validation method. Ask how the proposed process controls the features that matter to your equipment. If the installation operates outside normal indoor conditions, make those boundaries explicit; otherwise, an apparently suitable bnc connector can be asked to solve an environmental problem that belongs to enclosure design or cable routing.
Conclusion
An ODM service optimizes a bnc connector by connecting interface selection to the way industrial monitoring equipment is built, installed, serviced, and verified. The bayonet form can support fast maintenance, but reliable results come from matching impedance, engineering the cable termination, validating installed geometry, and controlling production variation. Treat the bnc cable connector as a managed signal-path component, and the finished monitoring system is easier to build and easier to keep running.