EN

Installing TNC Coaxial Cable Assembly: A Practical Field Guide
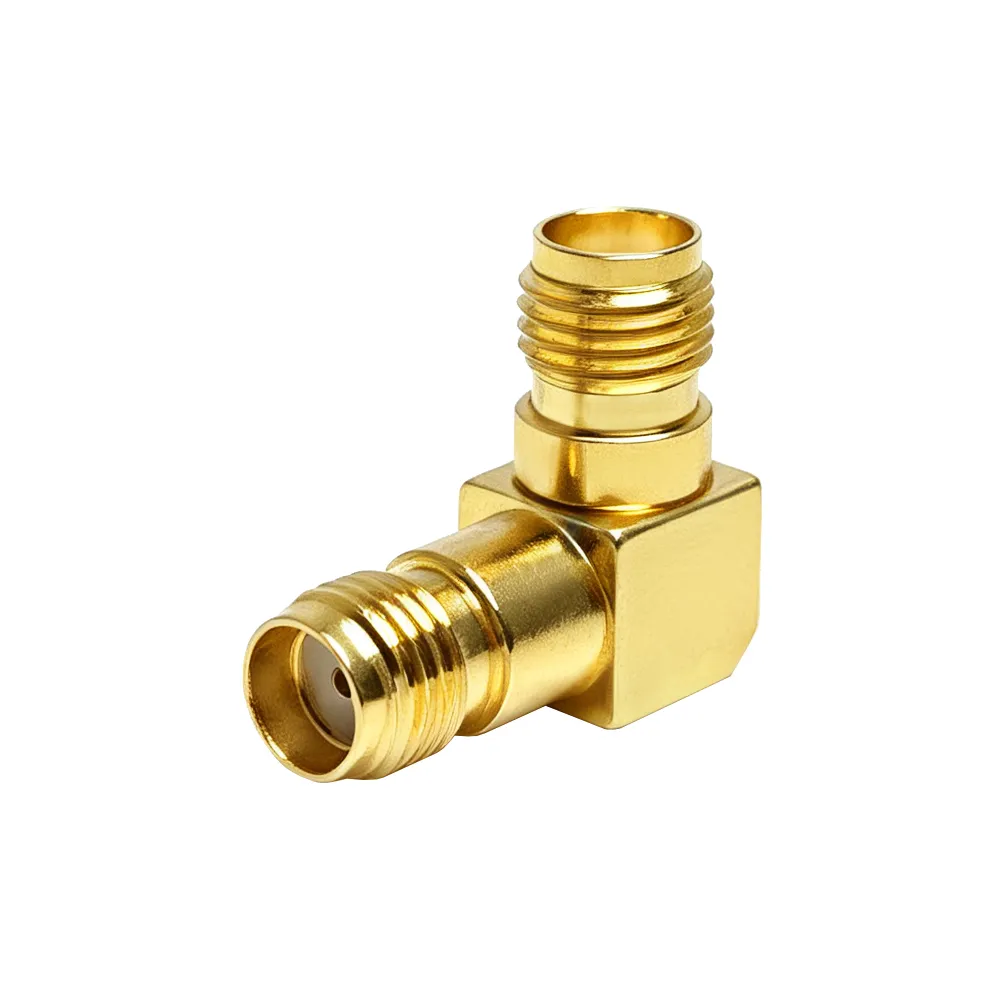
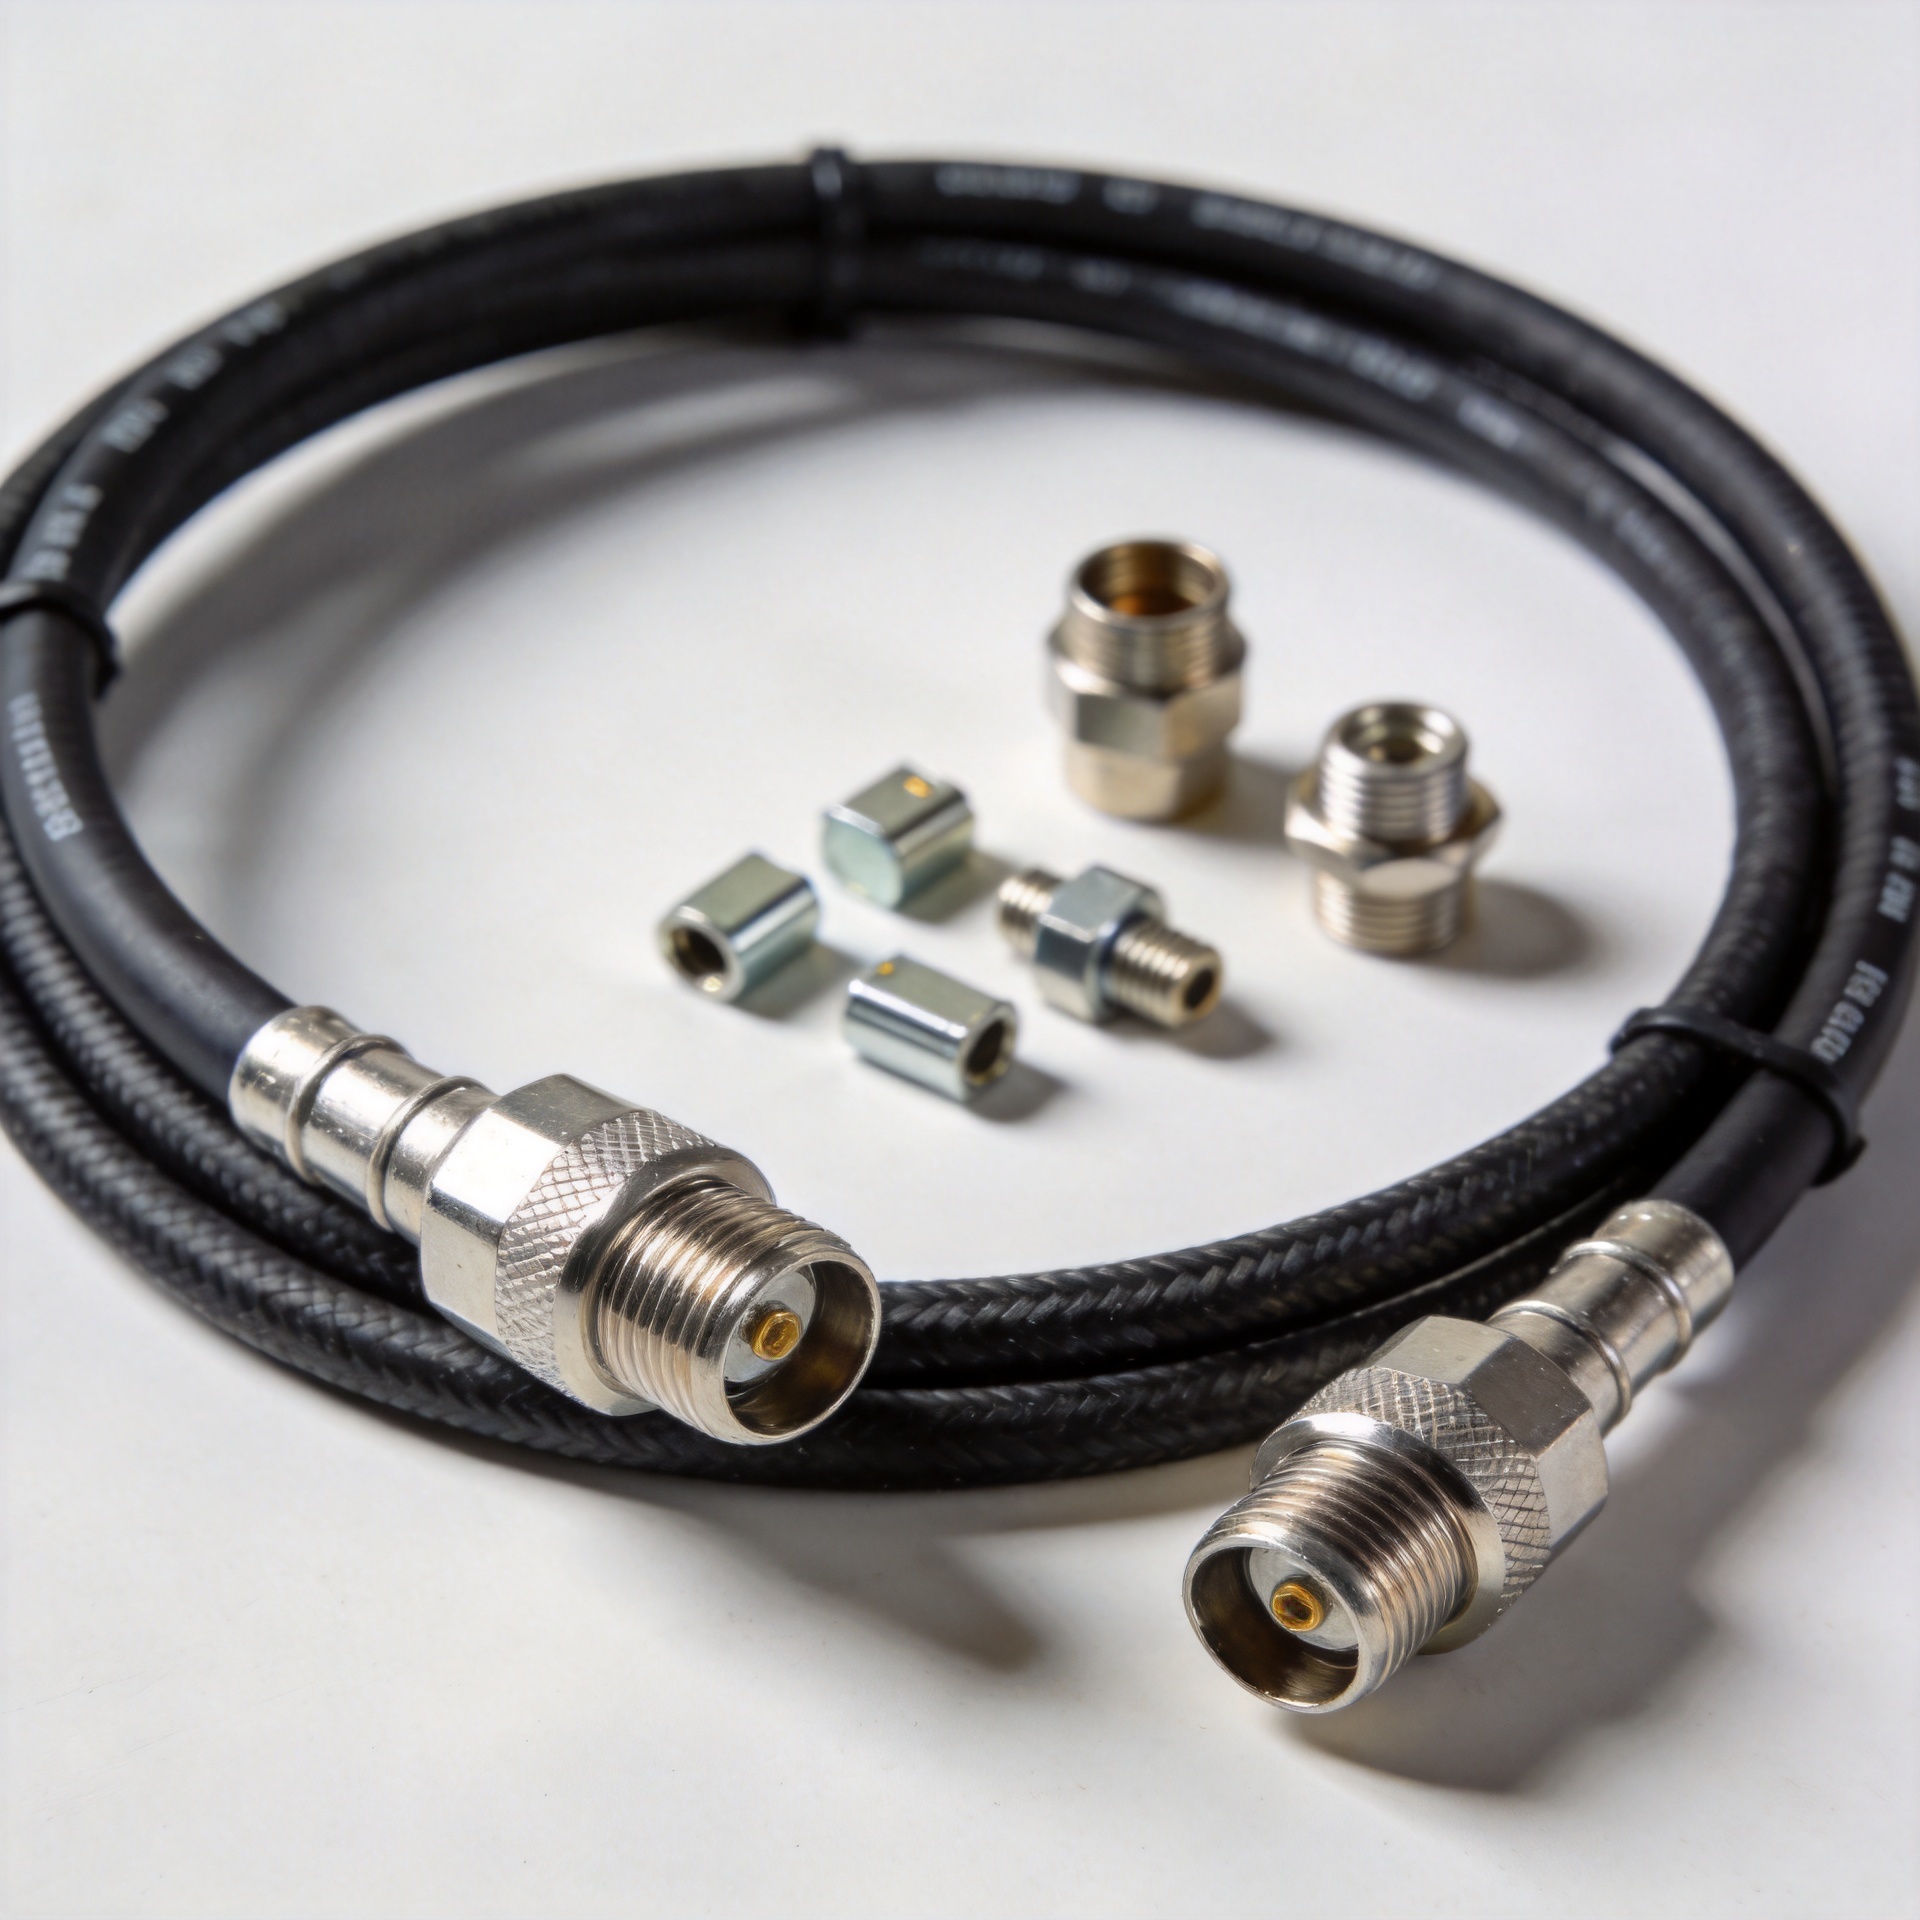
Ensuring optimal signal integrity in high-frequency communication systems relies heavily on precise hardware deployment. When deploying a TNC coaxial cable assembly, field engineers and technicians must adhere to rigorous technical standards to minimize insertion loss, prevent signal leakage, and maintain characteristic impedance (typically 50 ohms or 75 ohms). Backed by ISO-certified manufacturing practices, WORLDPEAK delivers robust RF solutions, yet proper field installation remains the definitive factor determining long-term system reliability in wireless infrastructure, test equipment, and aerospace applications.
Essential Pre-Installation Preparation and Tooling
Before initiating any TNC connector installation, gathering professional-grade tooling is mandatory. Makeshift tools often compromise the structural integrity of the coaxial cable dielectric and outer braid, leading to high Voltage Standing Wave Ratio (VSWR) spikes.
-
Precision Coaxial Stripper: Adjusted specifically for the target cable dielectric thickness (e.g., RG58, RG174, or LMR-240).
-
Calibrated Hex Crimp Tool: Fitted with appropriate die sizes matching the connector ferrule and center pin dimensions.
-
Flush Wire Cutters & Deburring Tool: For cleaning copper conductors without leaving burrs that cause internal short circuits.
-
Torque Wrench: Essential for threaded TNC coupling nuts to ensure proper mating torque (typically 4.5 to 7 in-lbs depending on the shell material).
Proper workspace cleanliness is another critical aspect emphasized in WORLDPEAK RF cables quality guidelines. Dust, metal shavings, or moisture trapped inside the connector interface during assembly can catastrophically degrade high-frequency performance.
Step-by-Step TNC Coaxial Cable Assembly Procedures
Executing a flawless TNC coaxial cable assembly requires a sequential, disciplined workflow. Follow these five detailed steps to achieve mechanical stability and superior electrical performance.
Step A: Precision Cable Stripping
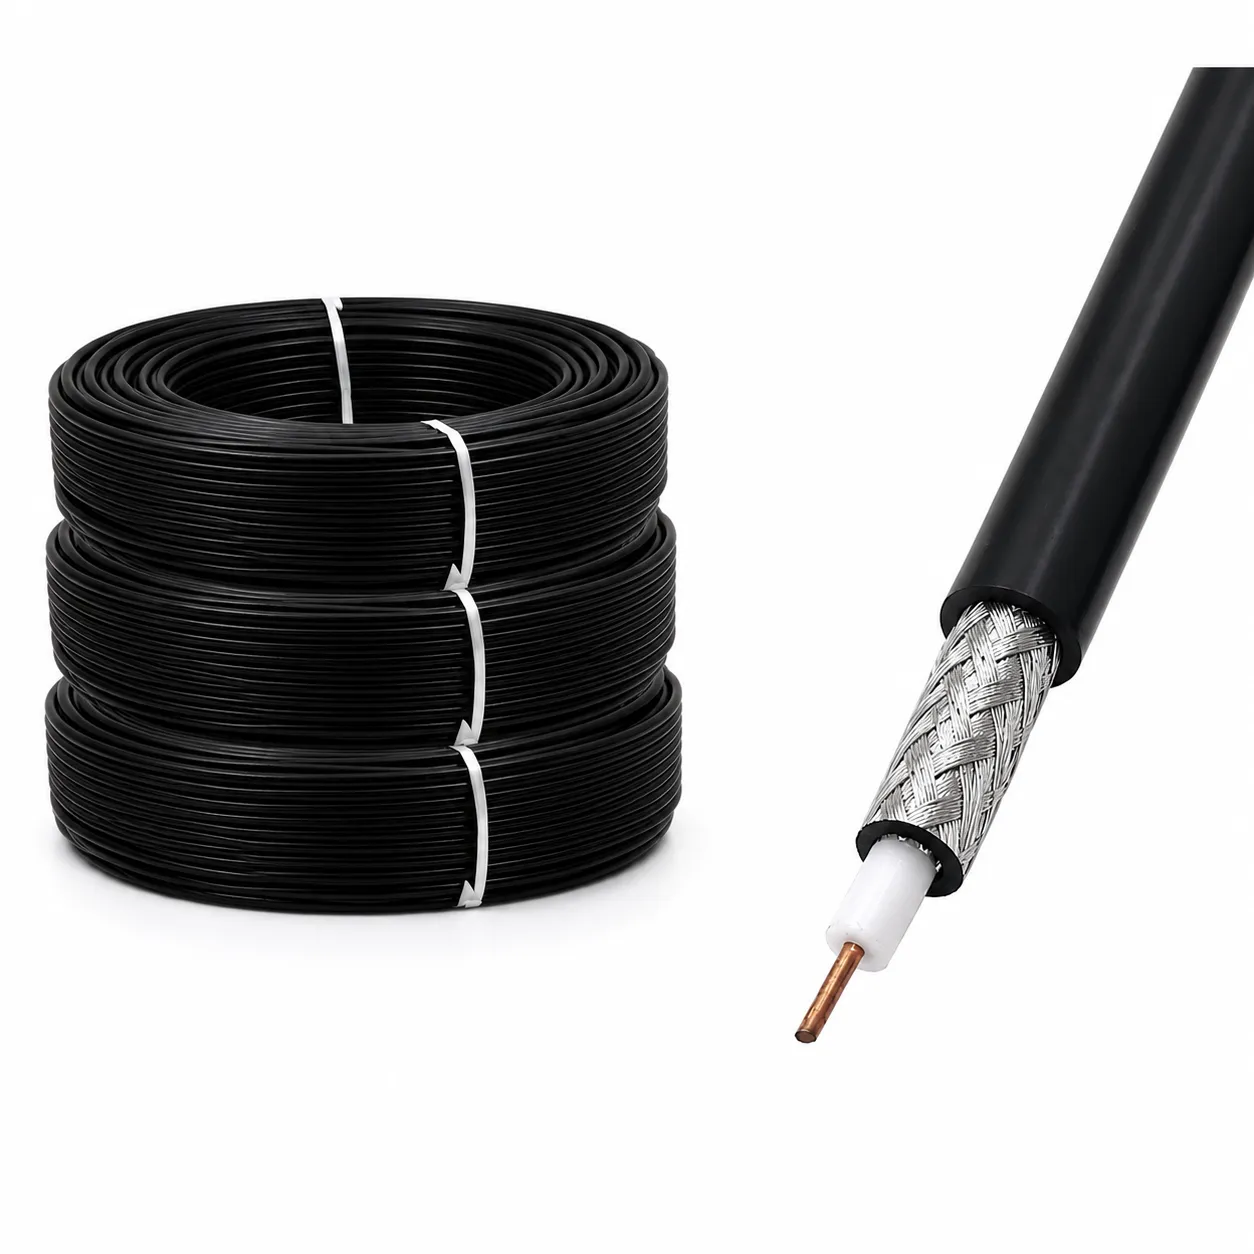
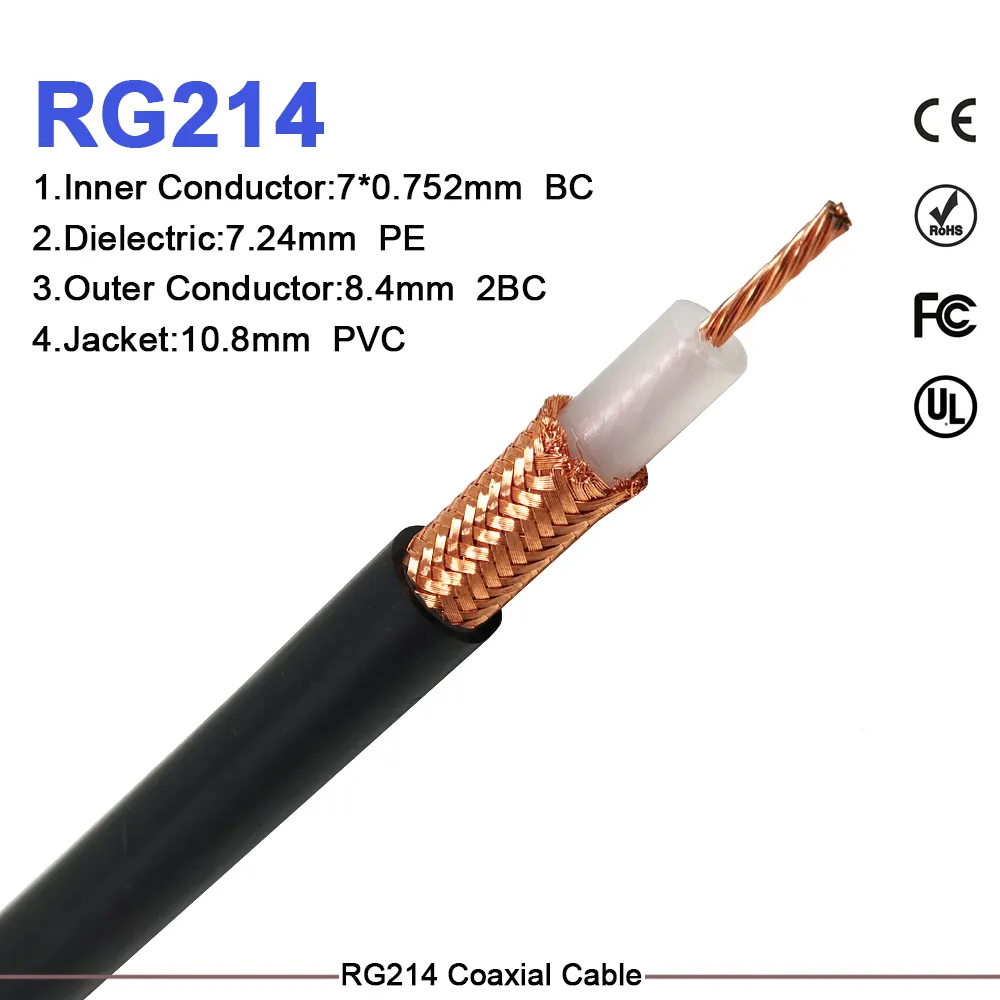
Strip the outer jacket, braided shield, dielectric core, and center conductor in precise increments defined by the connector manufacturer's specification sheet. Avoid nicking the inner conductor or cutting individual strands of the outer braid, as this weakens current-carrying capacity and mechanical pull strength.
Step B: Center Contact Attachment
Slide the outer crimp ferrule onto the cable jacket first (a common oversight is forgetting this step). Position the center contact pin onto the exposed inner conductor. Depending on the design, crimp the pin securely using the designated die notch or solder it cleanly, ensuring zero solder buildup outside the pin barrel that would prevent smooth insertion into the TNC dielectric insulator.
Step C: Braid Flaring and Dielectric Alignment
Carefully flare the outer braided shield outward over the cable jacket to allow unhindered seating of the internal grounding sleeve or mandrel. Inspect the dielectric core to ensure it is clean, flush, and undamaged by heat or stripping blades.
Step D: Inserting into the TNC Connector Body
Push the prepared cable assembly straight into the main TNC connector body until the center pin clicks or seats firmly into the internal Teflon (PTFE) insulator. Slide the outer crimp ferrule forward over the flared braid until it rests flat against the rear shoulder of the connector housing.
Step E: Final Crimp and Mechanical Inspection
Place the ferrule into the correct hex crimp slot of your tool and apply a single, firm squeeze until the ratchet releases fully. Perform a physical pull-test on the cable to verify that the crimp retention force meets industrial standards. Finally, inspect the interface to ensure no loose copper strands protrude near the mating threads.
Technical Comparison: Cable Types & Tooling Parameters
To assist technicians in selecting the correct parameters for their deployment environment, the following comparison matrix outlines specifications for common coaxial cables utilized with WORLDPEAK connector lines.
| Cable Type | Outer Diameter (mm) | Characteristic Impedance | Recommended Crimp Die Size | Typical Insertion Loss (at 1 GHz) | Primary Application Field |
| RG58 | 4.95 mm | 50 Ohm | 2.13 mm (.068 in) | ~0.5 dB / meter | Wireless LAN, Antenna Feeds |
| RG174 | 2.54 mm | 50 Ohm | 1.78 mm (.068 in) | ~1.2 dB / meter | GPS Antennas, Internal Chassis |
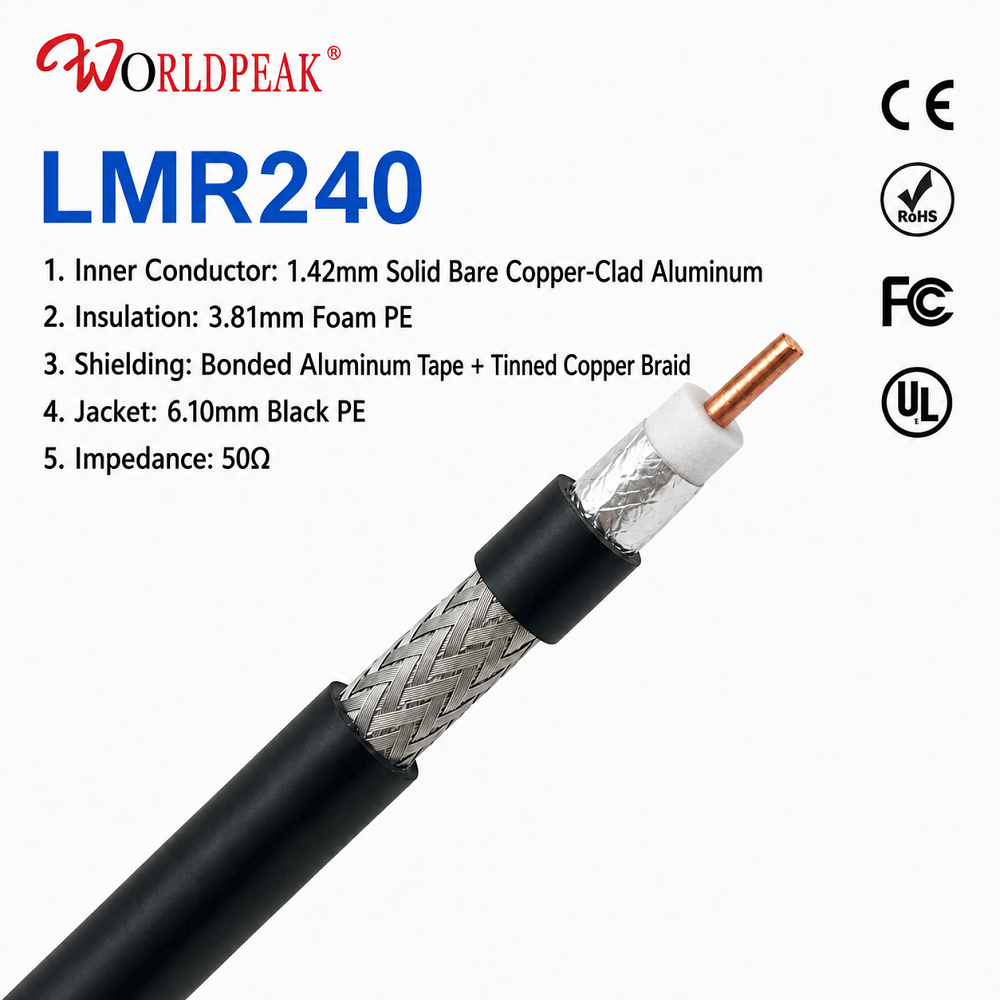
| LMR-240 | 6.10 mm | 50 Ohm | 6.50 mm (.255 in) | ~0.3 dB / meter | Cellular Repeaters, Base Stations |
| RG59 | 6.15 mm | 75 Ohm | 6.48 mm (.255 in) | ~0.4 dB / meter | CCTV, Video Broadcasting |
Common Pitfalls and Quality Control Standards
Even experienced technicians occasionally encounter performance degradation due to subtle installation errors. Recognizing and avoiding these common pitfalls ensures that your TNC coaxial cable assembly maintains peak operational efficiency.
-
Dielectric Crush or Melting: Overheating during soldering or using worn stripping blades can deform the internal PTFE dielectric, altering impedance and creating localized signal reflections.
-
Under-Crimping or Over-Crimping: An incorrect hex die size either fails to secure the braid (causing intermittent ground connections) or crushes the internal dielectric, permanently ruining the return loss characteristics.
-
Moisture Ingress: In outdoor or harsh industrial environments, failing to apply adhesive heat shrink tubing over the rear cable entry point leads to corrosion and dielectric breakdown over time.
Factory Quality Assurance Protocols
At WORLDPEAK, every production batch undergoes strict automated optical inspection (AOI) alongside vector network analyzer (VNA) testing. Field installations should ideally mirror these factory benchmarks by performing post-assembly continuity, high-potential (hipot), and VSWR sweeps wherever mission-critical reliability is required.
Conclusion
Mastering the proper execution of a TNC coaxial cable assembly bridges the gap between raw component manufacturing and reliable field performance. By combining high-grade components from trusted providers like WORLDPEAK RF cables with disciplined stripping, precise tooling, and rigorous post-installation testing, engineers can guarantee signal integrity across demanding operating environments. For comprehensive design specifications and broader network infrastructure components, explore our main